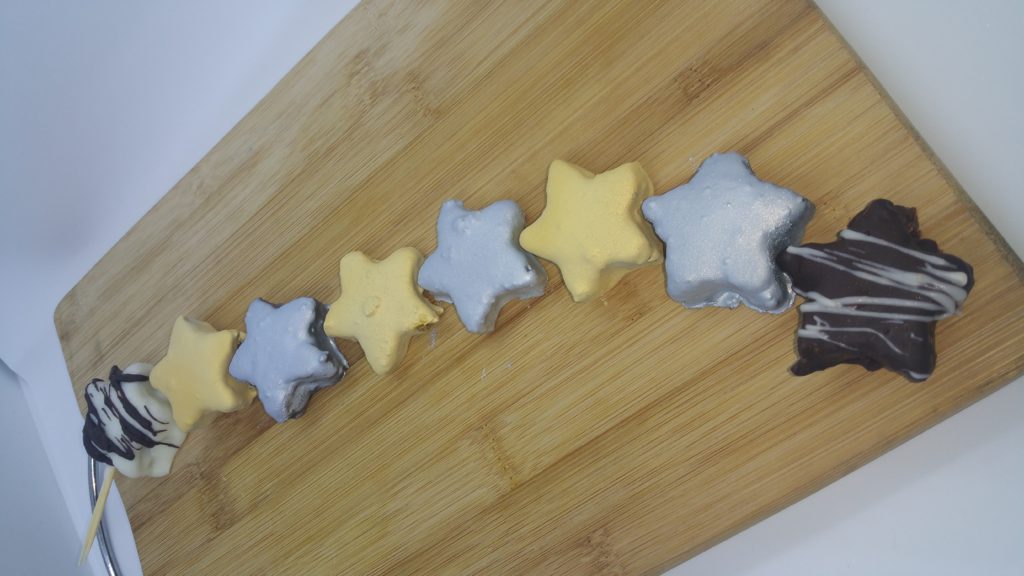
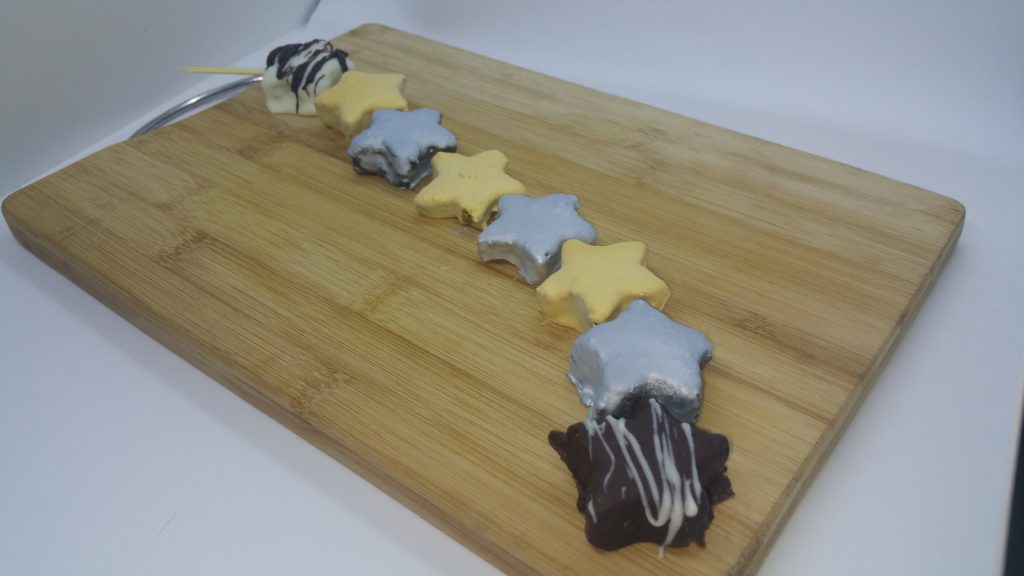
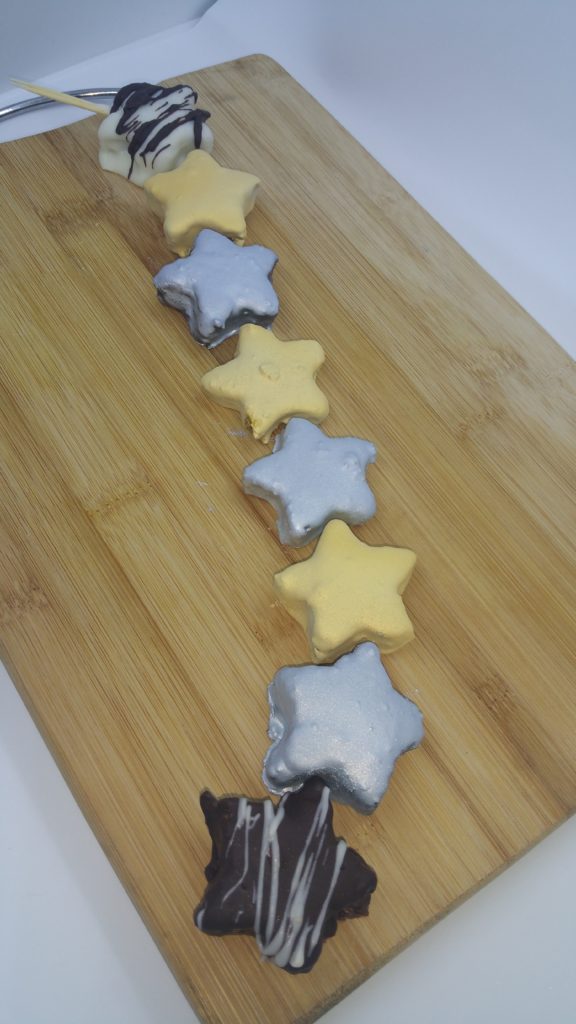
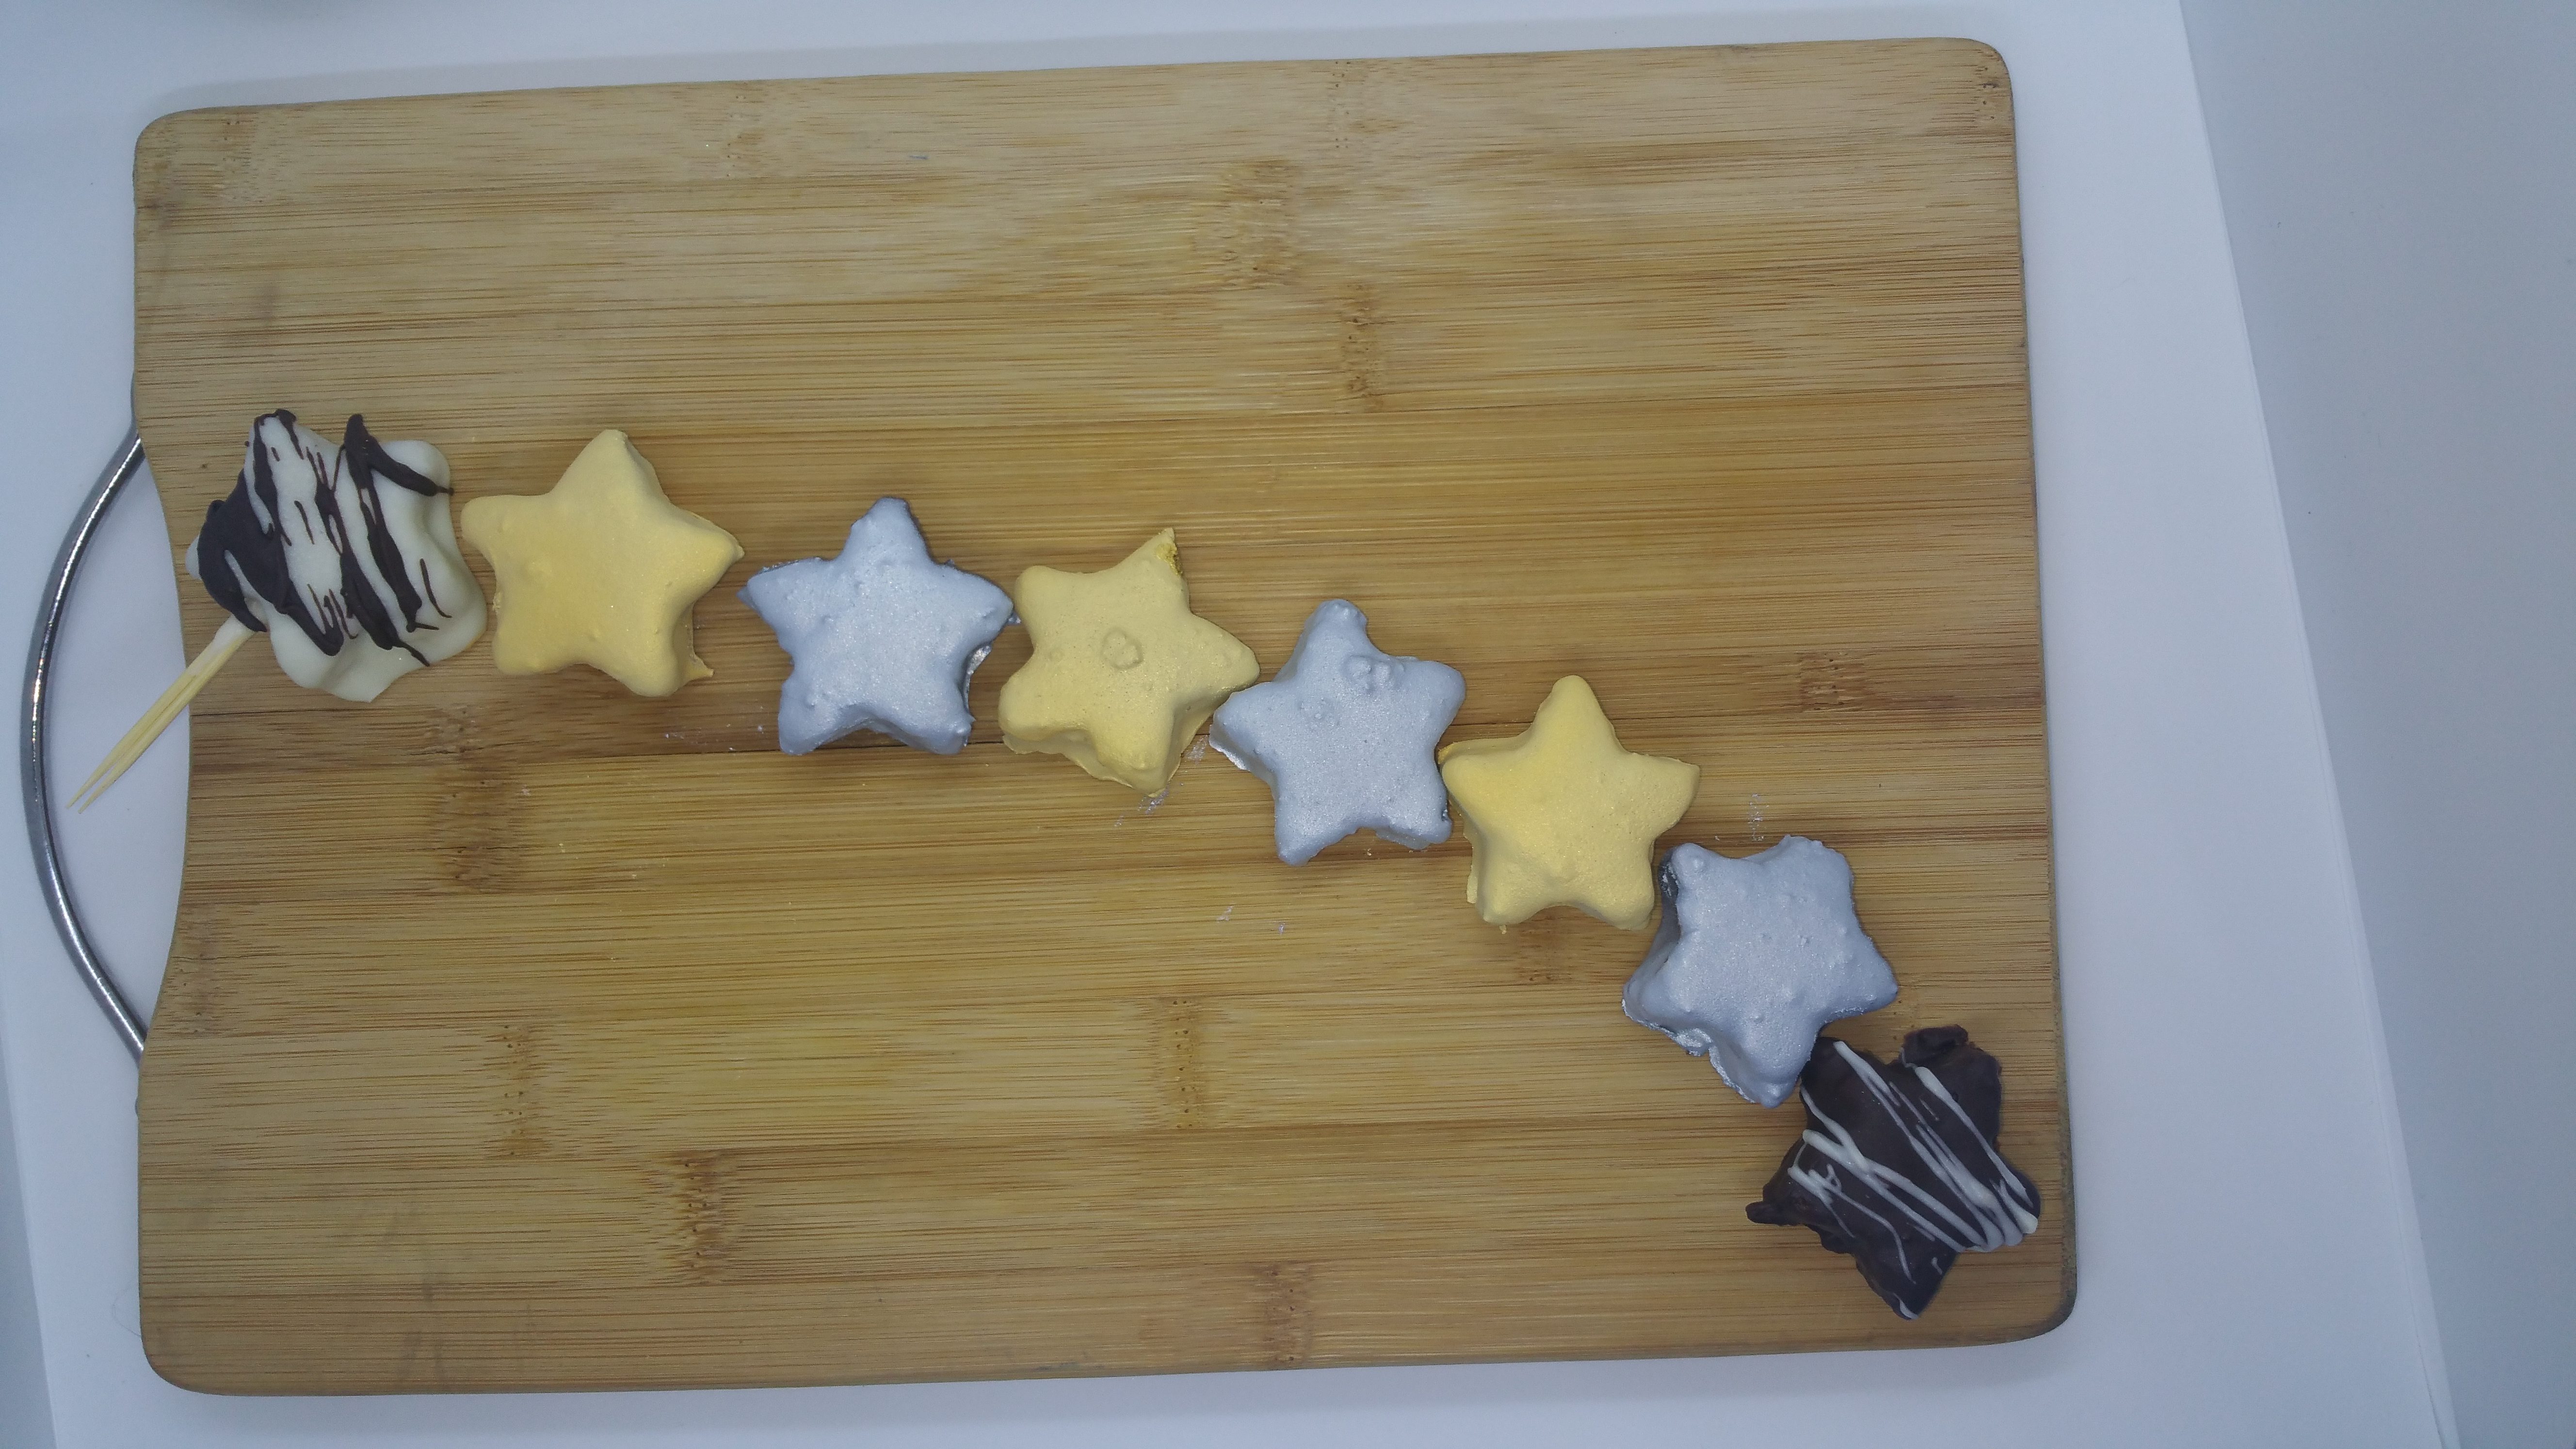
This cake pop was my first time making them. And I didn’t make a ball out of them, like they are traditionally made, I cut them out into a star shape. It’s been so long since I made that recipe that I don’t remember why I decided to make them. But I remember my brother and his friends enjoyed them immensely when I left some for them.
Ingredients:
For the gingerbread cake:
1 cup of flour
Lemon zest
1/2 tsp of baking soda
1 egg
1/2 tsp of baking powder
1 cup of milk
1/4 tsp of salt
1/2 tbsp of cinnamon
1 tbsp of fresh ginger
1 tsp of ginger powder
1/2 tsp of nutmeg
1/4 cup of butter (room temperature)
1/4 cup of brown sugar
1/3 cup of cane syrup
For the lemon buttercream:
1/2 lemon extract
1 whole lemon
1/2 cup of butter
1-2 cups of powdered sugar
1 cup of dark chocolate chips
1 cup of white chocolate chips
Tools:
Star cookie cutter
Gold edible spry
Silver edible spray

Shooting stars are nice and everything, but edible stars are way better!!!
Let’s get started!
Preheat the oven at 350 degrees F.
Start by grating the lemon zest. When grating a lemon, first, organic lemons are preferred. Before you start grating, wash your lemon thoroughly, and dry it well before you start zesting. When you are actually grating the lemon, make sure to not grate the white layer underneath the skin.
Sift the flour, baking soda, baking powder and powdered ginger. Grate the nutmeg into the flour mixture. And mix them well together to make sure that the baking powder and soda are well distributed in the flour. Grate the fresh ginger into the flour mixture. It’s best to grate the fresh ginger into the flour, and not the wet ingredients, because when they are covered in flour, they won’t sink at the bottom of the cake pan.
Cream the room temperature butter with the sugar and egg with a whisk. Add the lemon zest and cane syrup and whisk them together. Add the milk, a pinch of salt and whisk them in. Fold the flour mixture in 2 parts into the wet ingredients. By doing so, it will help reduce the amount of lumps in the batter. Stop when all the flour is incorporated into the wet ingredients. And also by folding the flour into the milk mixture, and not whisk it in, the cake won’t become tough.
Pour the cake batter into a cake pan lined with parchment paper, and greased as well. My cake pan is 6 inches. Put the cake pan in a preheated oven at 350 degrees F for 25-30 minutes. If an inserted knife or toothpick comes out clean, it means that the cake is ready.

While the cake is baking, get on with the lemon buttercream. Start creaming the room temperature butter. After that, add the powdered sugar. Start mixing the sugar by hand, initially, so it doesn’t fly all over the place; after that mix it in with the electric mixer. Add lemon extract, lemon zest (zest one lemon for the buttercream) and lemon juice. Mix them well with the butter mixture. And that is it; the lemon buttercream is done.
Take the cake and crumble it into the lemon buttercream. Mix the cake so that the buttercream is well distributed into the cake. Spread the cake mixture onto a sheet pan, about 1/2 inch or 1 inch thickness, and put it in the fridge to firm up, about 15 minutes.
While the cake pops are firming up in the fridge, melt the chocolate. I am using both white and dark chocolate. You can use either one. Melting chocolate can be tricky, specially white chocolate. It can get burned easily. Melt the chocolate in the microwave in 30 second intervals. Add 1 tsp of coconut oil or vegetable shortening to help with the melting. Mix between each time until the chocolate has melted completely. It’s important to mix after each time in the microwave to avoid hot spots and the chocolate burning.
Or, melt the chocolate over a bain-marie on low heat. It is the easiest and safest way to melt your chocolate without burning it, but it takes longer to do so.
After they firmed up, use a cookie cutter to cut out the star shapes. I made all my cake pops the same size. You can vary the sizes if you wish to do so. Using a toothpick or just a fork, dunk the cake pops into the chocolate. Tap off the excess chocolate, and place them on a sheet pan lined with parchment paper, or just a greased surface. Let them set in the fridge for 10 minutes.

After they are done setting, take them out to spray the edible paint. I am using gold and silver paint. Make sure that the paint you get is edible. When spraying, don’t spray too close; spray about half a feet away from the cake pop. If you spray too close to the cake pop, the excess liquid will run down the cake pop. Let them set for 5 minutes, and then you can enjoy.
Enjoy your treat!
Thank you for watching!
