I cannot express how much I wanted to make those spoons. I’ve wanted to make them for years, but I always gave other recipes priority because I always wanted to make a video of the spoons. I just love them. They are pretty easy to do. What can make them complicated are the different flavors and different decorations you might want to do. Just make a bunch and enjoy them either in your coffee or warm milk. You won’t regret making them. They make pretty gifts as well.
“What kind of monster could possibly hate chocolate??”
Ingredients:
1 cup of dark chocolate
1 cup of white chocolate
1/2 tsp of vegetable shortening (or coconut oil) for each chocolate
For toppings:
caramel chews
vanilla paste
marshmallows
If you are going to top with something different, make sure it is something that is soft and not hard and can’t melt in the warm milk
“Any sane person loves chocolate”
Preparation:
First thing first, have all your ingredients near you. When cooking, you should gather all your ingredients before starting the process. But in this recipe, you definitely want to be prepared. Everything will set fast. Have your toppings ready, and know what kind of design you want to do with them.
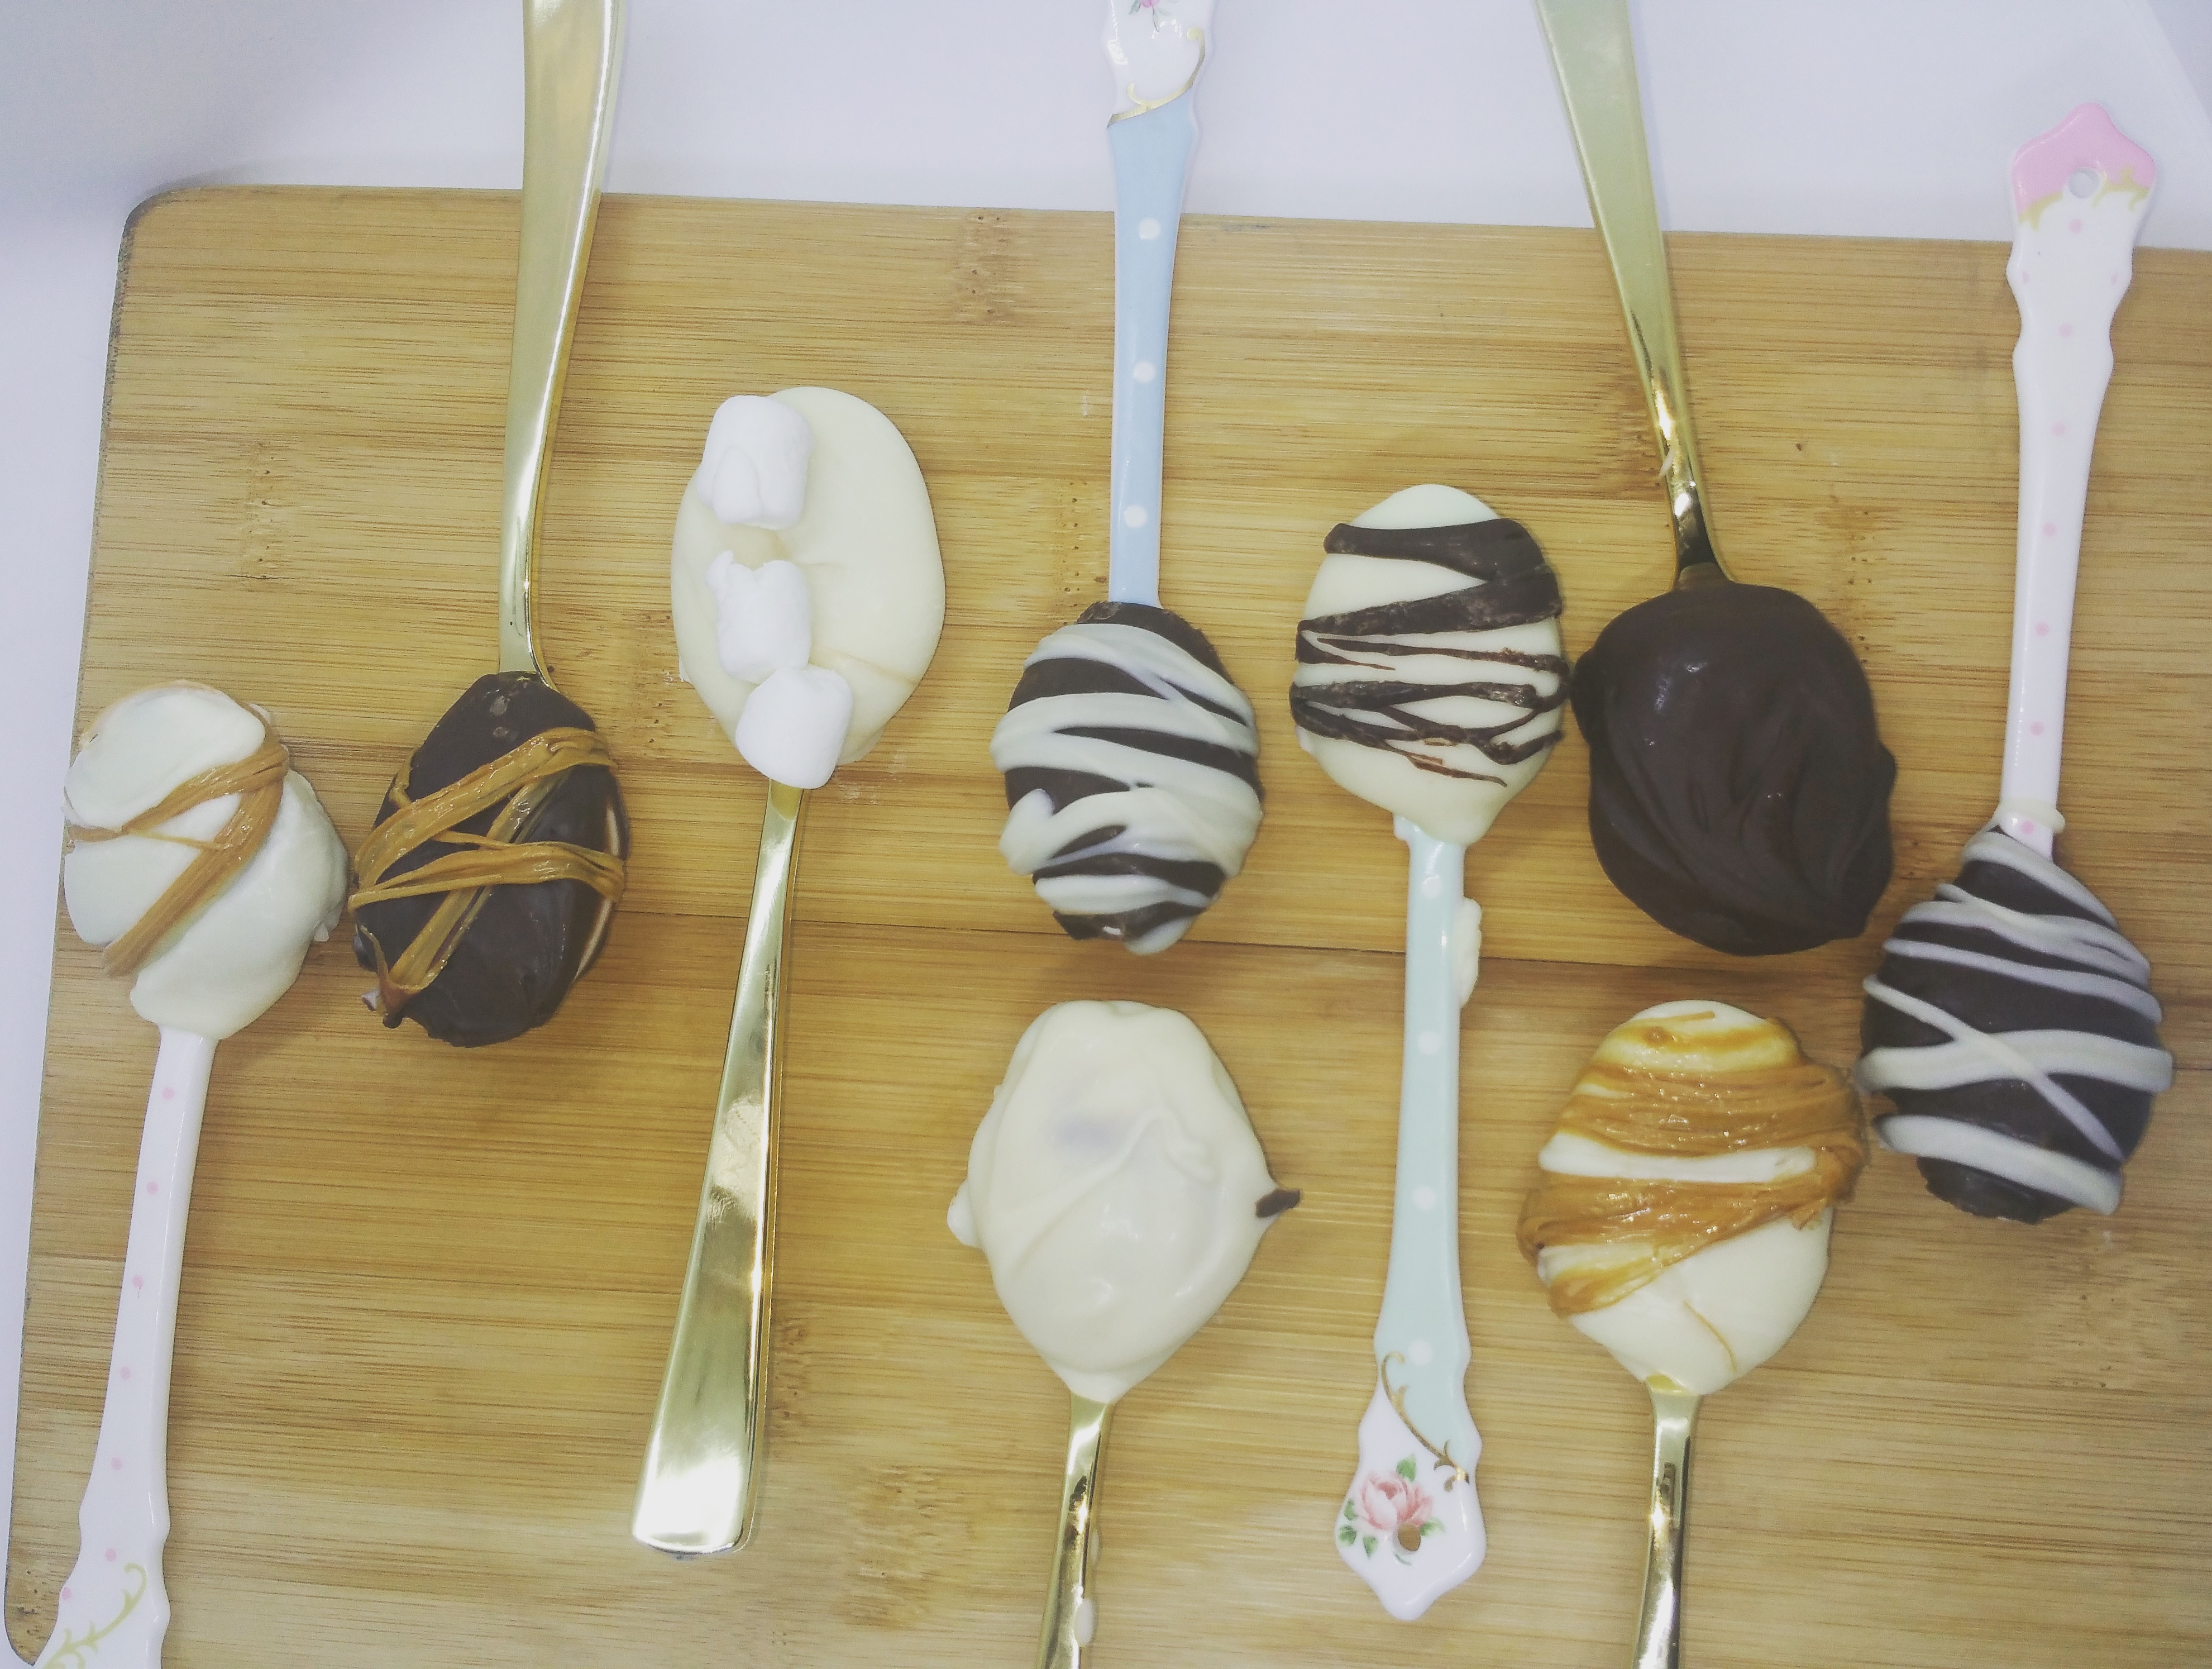
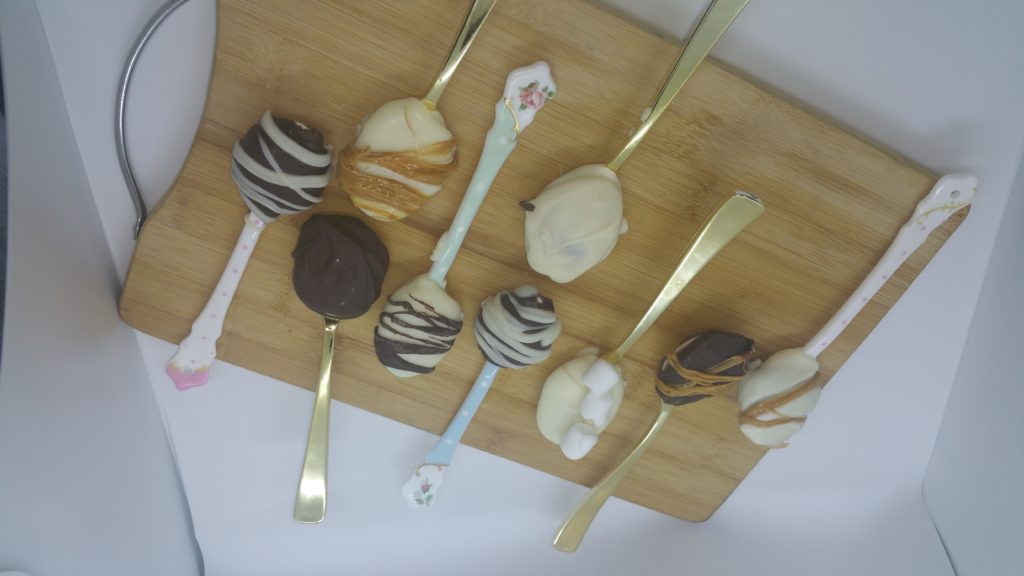
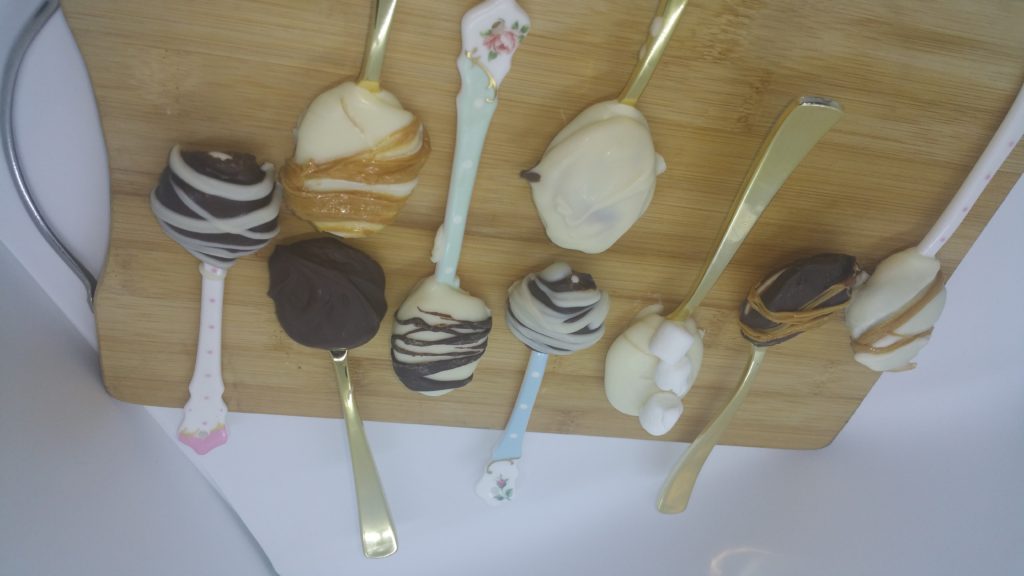
For the spoons that I am using, I chose some nice decorating spoons. I had gold spoons for myself and collectible porcelain spoons to give as a gift to my friend.
Melting chocolate can be tricky, specially white chocolate. It can get burned easily. Melt the chocolate in the microwave in 30 second intervals. Add 1 tsp of coconut oil or vegetable shortening to help with the melting. Mix between each time until the chocolate is melted completely. It’s important to mix after each time in the microwave to avoid hot spots and the chocolate burning.
Or, melt the chocolate over a bain-marie on low heat. It is the easiest and safest way to melt your chocolate without burning it, but it takes longer to do so.
Once the chocolate has melted, fill each spoon with some chocolate. Let it sit in the fridge for 5-10 minutes for them to set.
Once the chocolate has set completely, cover the spoon with a second layer of chocolate. The second layer of the chocolate can match the first layer or, you can also mix them. Meaning, if your fist layer is white chocolate, you can match the second layer to be white chocolate; or you can mix the second layer to be dark chocolate.
Because the spoons are cold, the second layer will set quickly. So, add your toppings fast.
The first topping I made is vanilla paste. With a knife, put some of the vanilla extract on the second layer of the chocolate that hasn’t set yet.
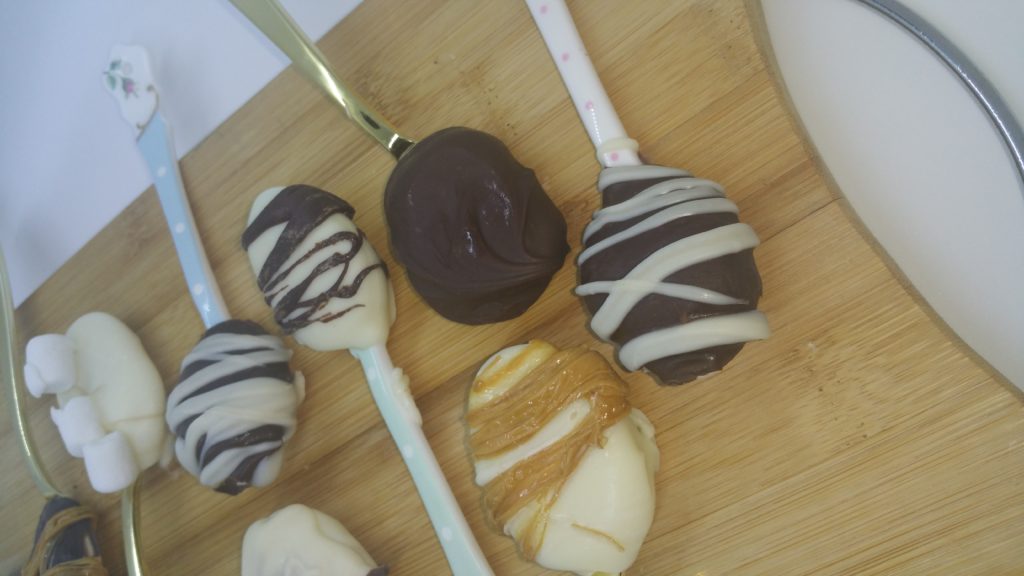
The second topping I had were the marshmallows. Same steps like the previous one. Add the second layer of chocolate, and put the number of marshmallows that you want on top.
The third topping is caramel. I am simply using some caramel chews, and I melted them in the microwave. Be VERY cautious with these. They get hot very easily. I melted them in 15 second intervals. Make sure that the receptacle you are using is microwave safe and you might need oven mitts to hold to bowl.
You can choose to put a second layer of chocolate on these spoons or not. After that, use a fork to wrap the caramel around the chocolate spoons.
For the fourth decoration, I am using the alternate chocolate to make some lines on the spoons. For example, if the spoon is a dark chocolate spoon, I use white chocolate to go back and forth on that spoon.
For this one, you can choose to add a second layer of chocolate or not.
Put the spoons in the fridge until you need them. Wrap them in plastic or aluminum foil. They can be used in warm milk for hot chocolate, or hot coffee.
Check out my Haiti mug in the video.
Enjoy
Thank you for your time.