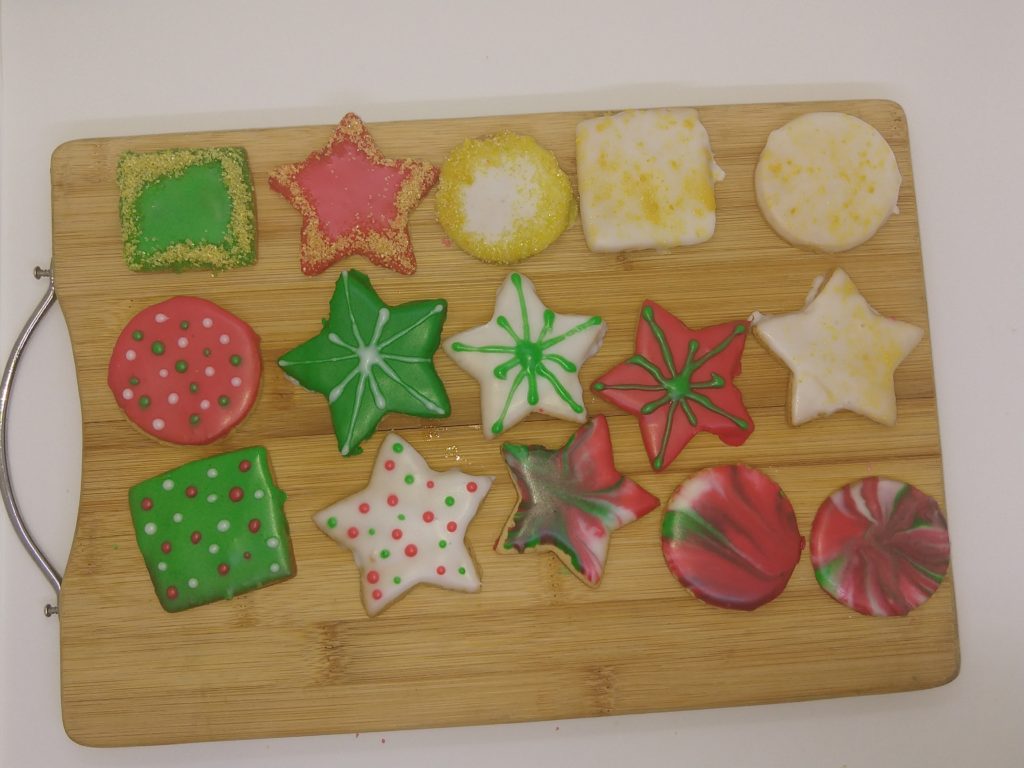
I was hanging out at my friend’s place, when I noticed his mother looking around for Christmas cookie recipes. She was looking at the Russian cookies, called rogaliki. They taste so great and one of these days, I will share a recipe.
So, the foodie in me instantly volunteered to make some Christmas inspired cookies for her. And as I thought about what kind of cookies should I do, I settled on gingerbread cookies.
This gingerbread dough is not the traditional gingerbread recipe; I don’t use molasses. I know that molasses is one of the prominent taste in gingerbread. I just don’t like that flavor, but I still want to enjoy some of those ginger cookies.
Well, in my culture we have a similar recipe called “bonbon siro” (I will also share that recipe at a later time) where we use cane syrup and that is what I am using in this recipe.
I am using a light cane syrup, but a dark cane syrup would be better. Of course, you are welcome to use the same amount of molasses if you don’t want to venture with the cane syrup.
Here are the ingredients needed: For the gingerbread dough
3 cups flour
1/4 tsp salt
3/4 tsp baking soda
3 tsp ground ginger
1 tsp ground cinnamon
1/4 tsp ground nutmeg
1/2 cup butter, room temperature
1/3 cup brown sugar
1 egg
2/3 cup cane syrup
1/2 tsp of lemon extract
For the sugar glaze:
3 cups of powdered sugar
1/2 tsp of lemon extract a pinch of salt
water (read my explanation on the amount needed)
And for my decoration design:
Red food color
green food color
gold luster
Tools needed:
baking sheets
hand mixer
brush
pipping bag
toothpick
Preparation:
Take all the spices (ginger cinnamon, salt and nutmeg) and baking soda, whisk them into the flour. In this recipe I am using whole purpose flour. Nutmeg is one of those ingredients that is better to grate fresh, instead of having the powder sitting in your cabinet.
Whisk the butter with a mixer; you can also do it by hand. Make sure that the butter is at room temperature. Add the egg and brown sugar and whisk them in with the butter. Once they are thoroughly mixed in, add the cane syrup and whisk it in as well.
When your wet ingredients are done, add the flour mixture to them in 2 parts. Add half of the flour mixture, and mix it in with a spoon. Add the other half, and mix it in with a spoon. A dough will form. Knead it a little bit until it all comes together, about 1 minute.
Cut the dough in half, and let them rest in the fridge for at least an hour. I made my dough in the morning, and bake the cookies in the evening. So my dough rested for around 8 hours. Take it out 30 minutes before you start rolling; that way the dough should become easier to handle.
Preheat the oven at 350 degrees F
On your working surface, you can have a silicone sheet or put the dough between 2 parchment paper; but I simply flour my rolling station and the rolling pin and start the process. Roll the dough to about 1 inch or 1/2 inch thickness. It is better to have thick cookies instead of thin ones.
I am using round, square and star cookie cutters. Just press the cutters into the dough and you can use a knife to help you lift it. Place the cut out cookie dough on a greased baking sheet, and let the dough firm up in the fridge for about 15 minutes. By doing that, the cookies won’t loose their shape while baking.
Bake them in a 350 degrees F oven for 7-8 minutes. When they are done baking, let them cool completely before starting the decorating process. This dough gave me about 100-105 cookies, taking my cookies cutter and the thickness of the rolled out dough into consideration. I counted 105 cookies.
I didn’t decorate some of my cookies, only because that I find them too sweet with the sugar glaze. I enjoyed decorating them. I liked the taste; but if I want to enjoy 5 cookies at once (and I usually do), with the sugar glaze decoration, the sweetness is just too much for me. When I choose to eat some cookies with the sugar glaze, I simply eat 2 and have a tall glass of water.
Let’s get to decorating!
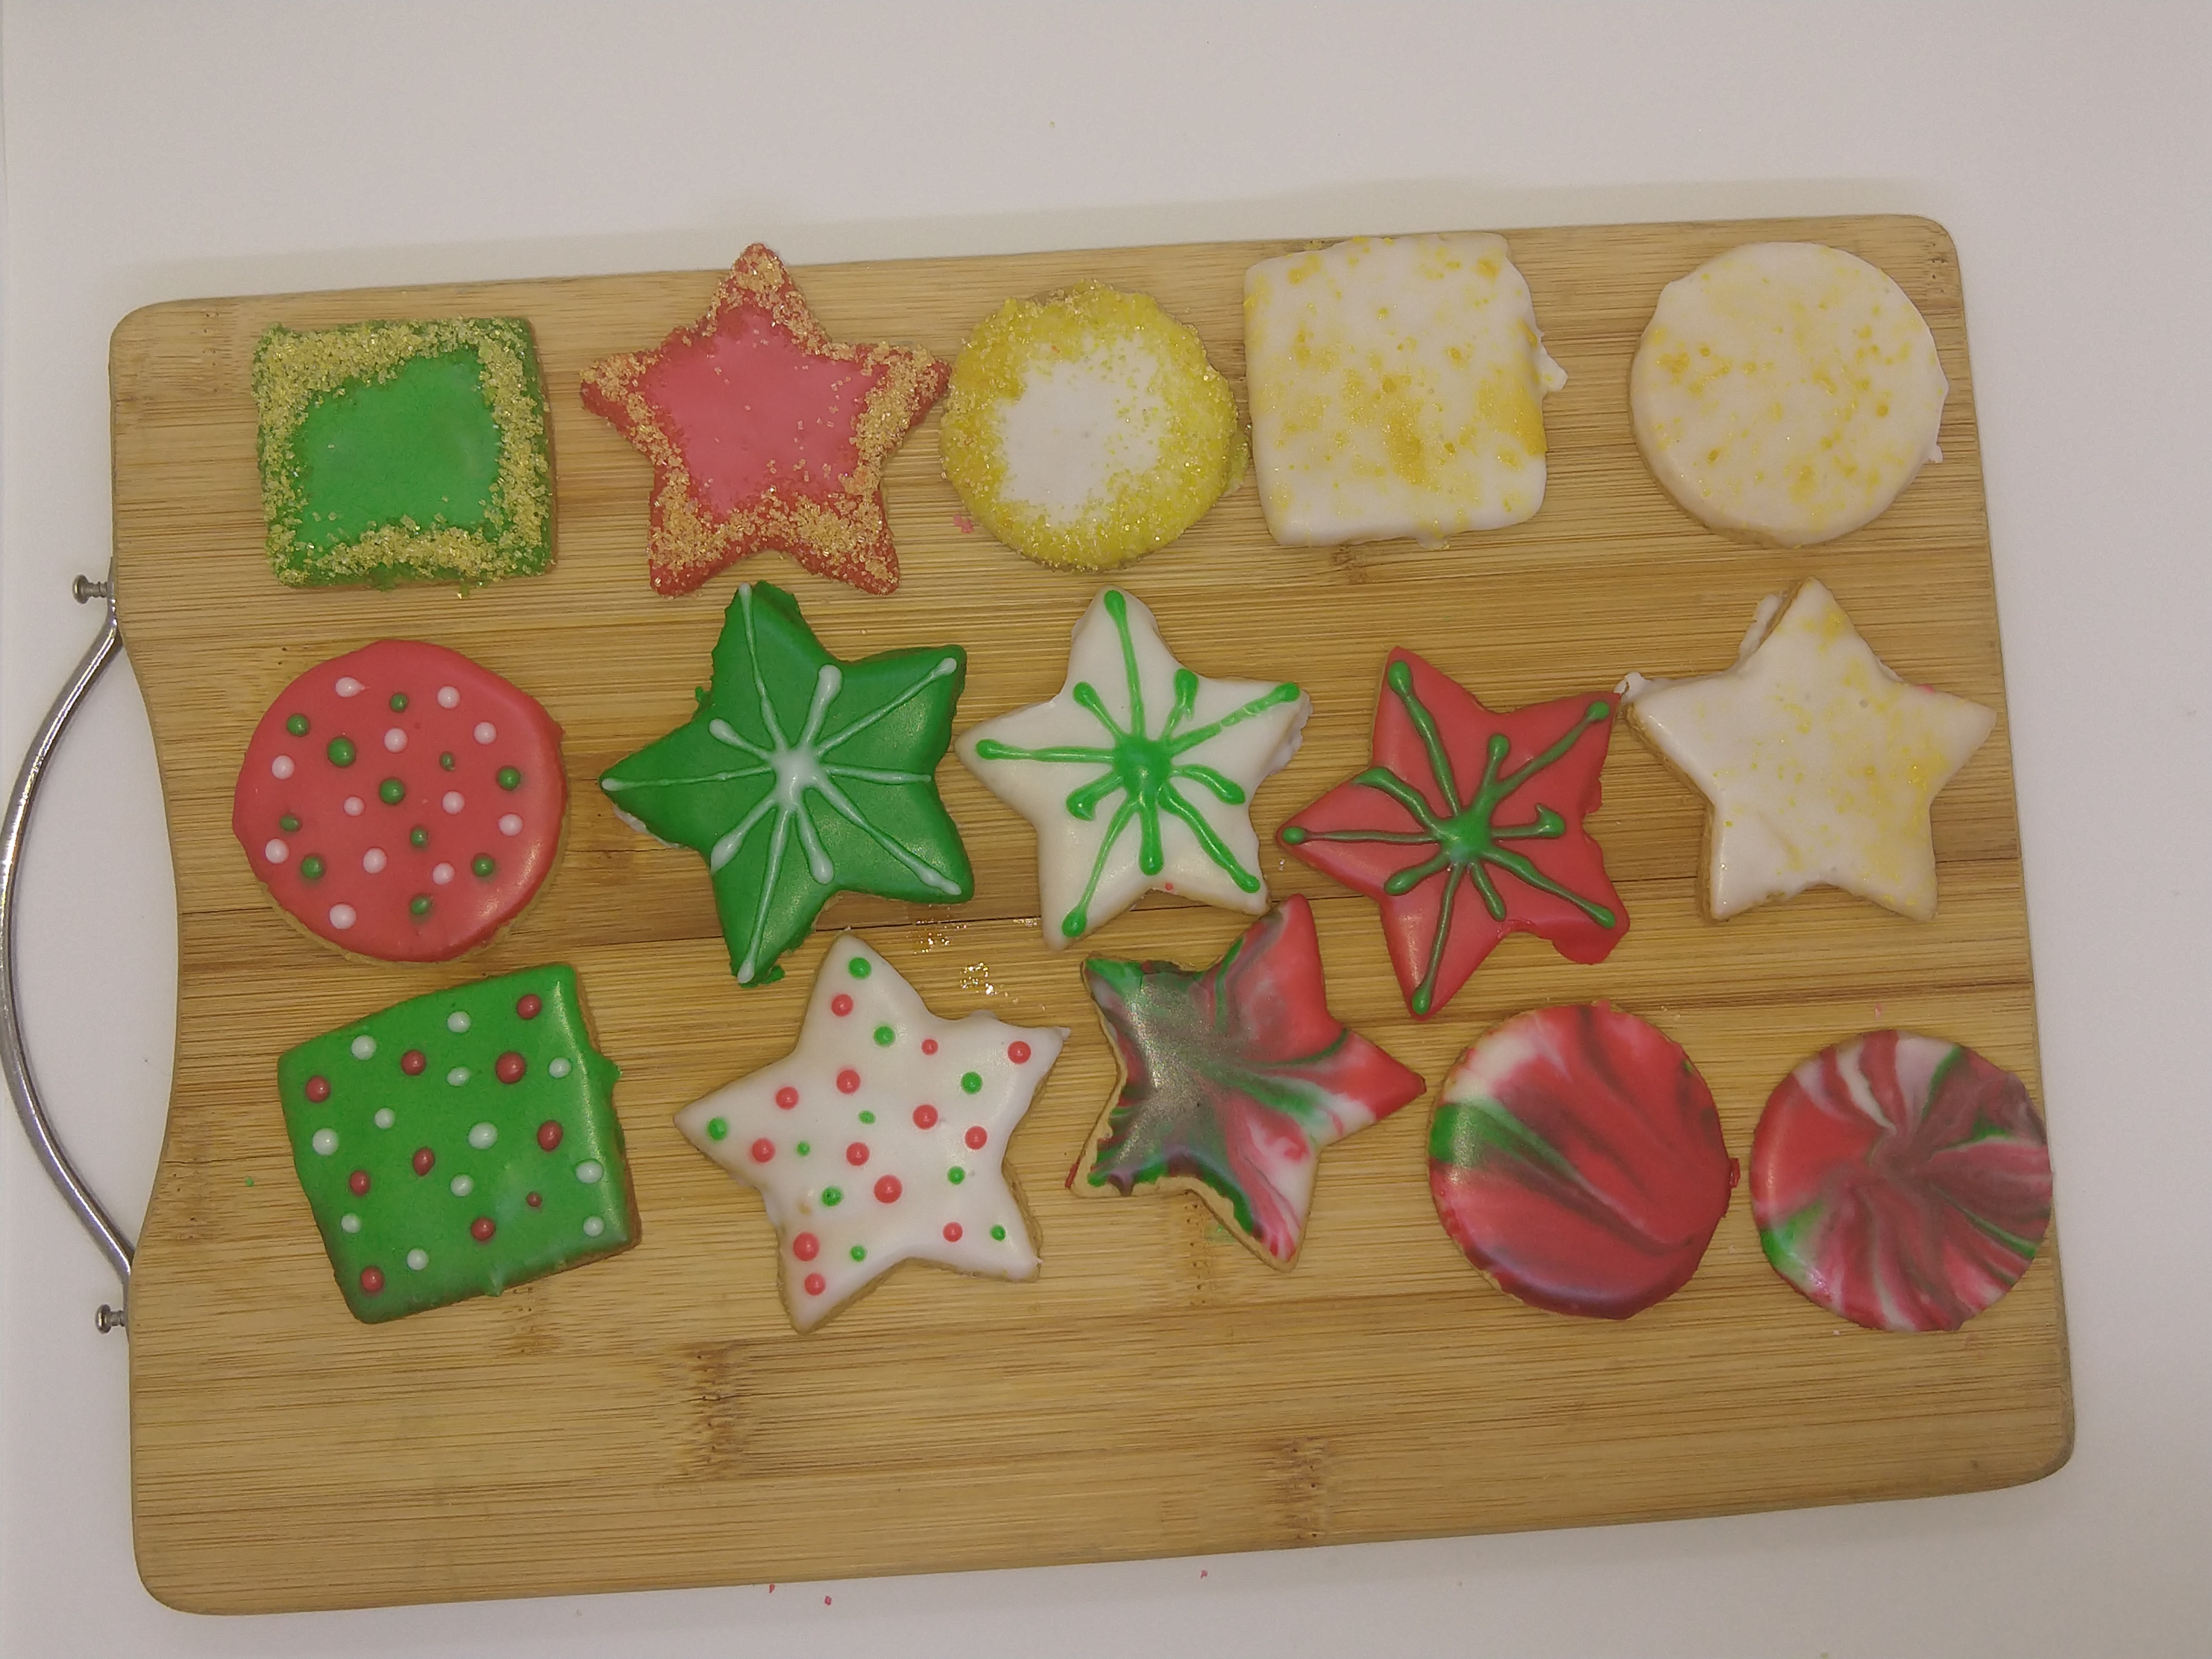
I wrote all of my decoration ideas on a piece of paper. The shapes that I want. How many colors do I want to work with. The add-ons that I want, such as the gold sugar and the gold luster. What type of decoration will I be doing with the icing. How many cookies of each decoration do I want. And so on. Having so many cookies to work with, and different ideas for the design, I think it’s best to map it out on a paper
Making the sugar glaze is the easiest and fastest step in this whole “tèt chaje”. In a bowl, add powdered sugar, lemon extract, and water and mix them together. For the water, add it a tablespoon at a time, that way you can control how thick or runny you would like your glaze to be. I added about 4 tbsps.
I started using my mixer to mix the ingredients together, and the sugar was flying all over the place. So, I turned off the mixer and switched to a slotted spoon. Separate the sugar glaze in three parts ( because I am using 3 colors). I left one white and the others I colored them red and green.
I flooded all the cookies. Normally to flood cookies, you outline the cookie with the sugar glaze and then pipe the glaze inside the outlined area. But since each cookies will be one color, I just dunk the cookies in the glaze, and tap the hand that is holding the cookie to let the excess glaze off.
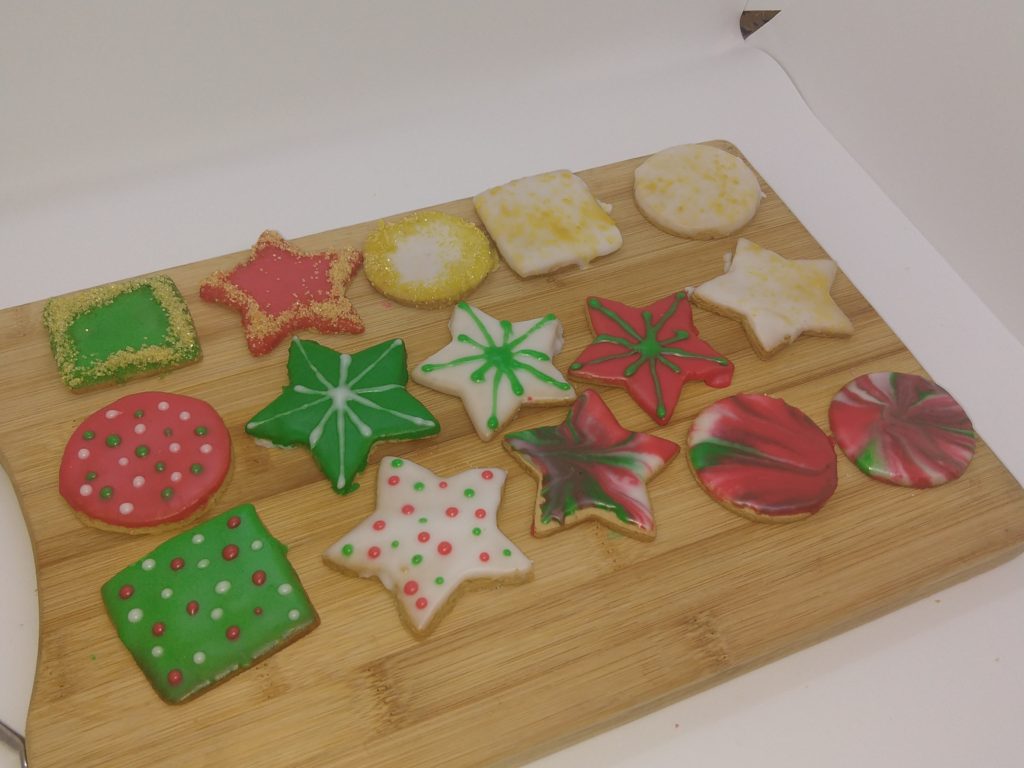
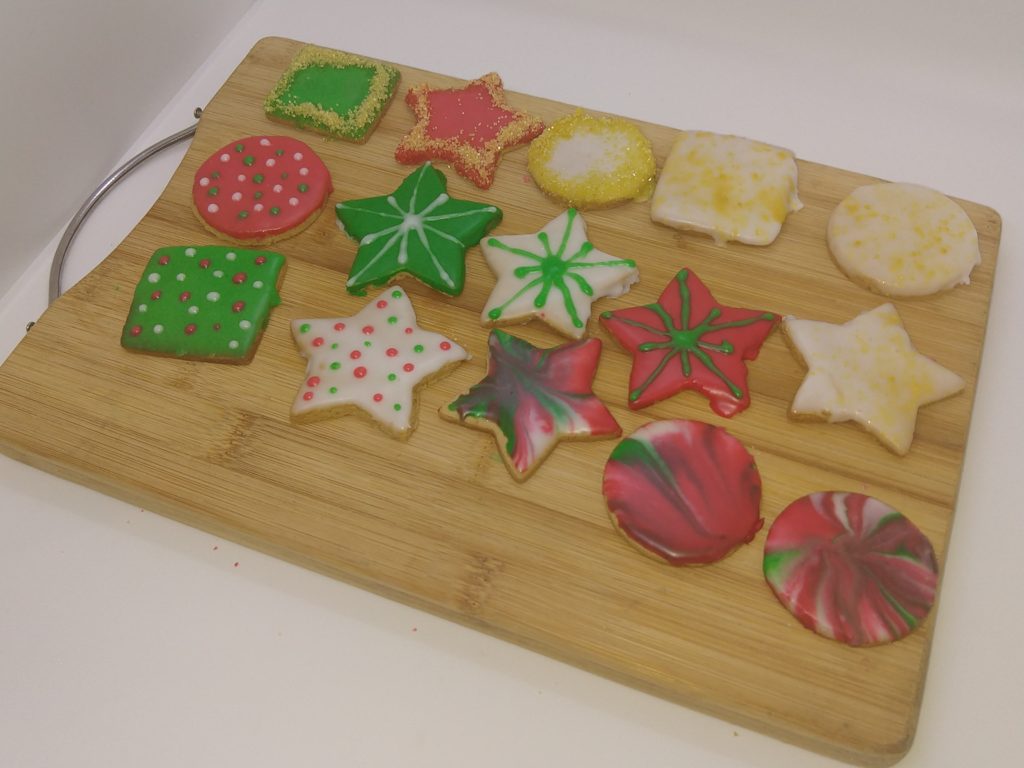
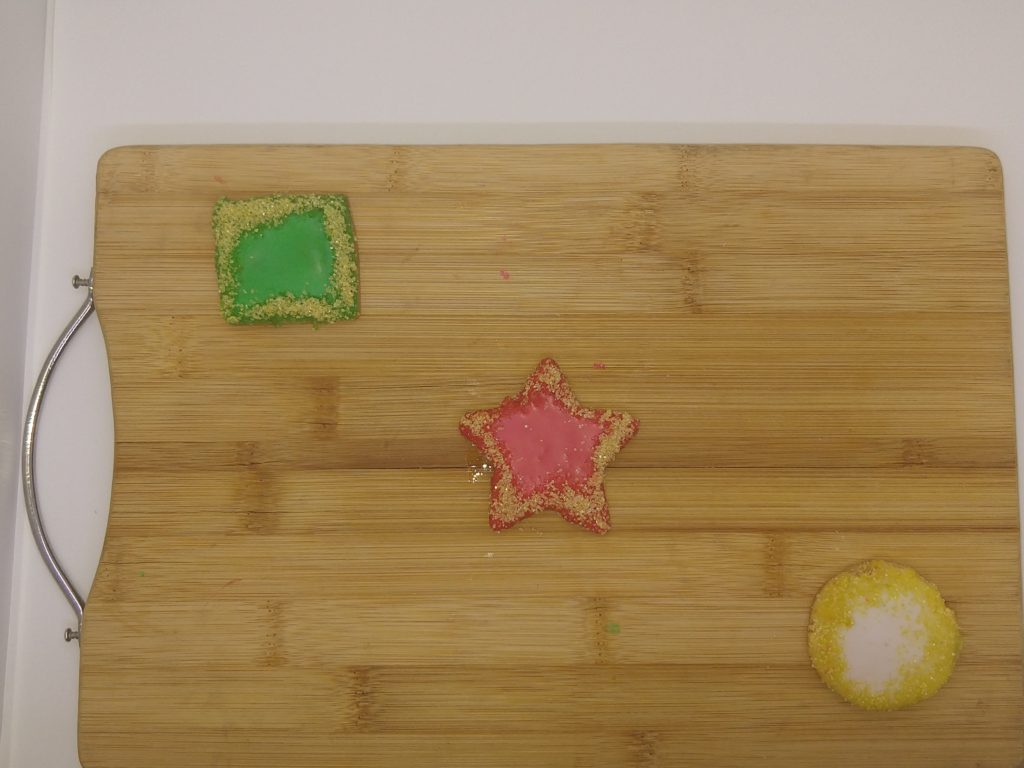
The first cookies that I decorated are the gold sugar ones. Have your sugar ready in a small bowl before you glaze the cookies. Once the cookies are glaze, press the sugar at the perimeter of the cookies. Some cookies I sprinkled the sugar at the edges and the sugar didn’t sparkle as much as if you press the sugar. Because in the pressing method, there are more sugar in the cookies than the sprinkling method. Therefore, more sparkles!
I felt like they looked like some bijoux. They came out prettier than I expected.
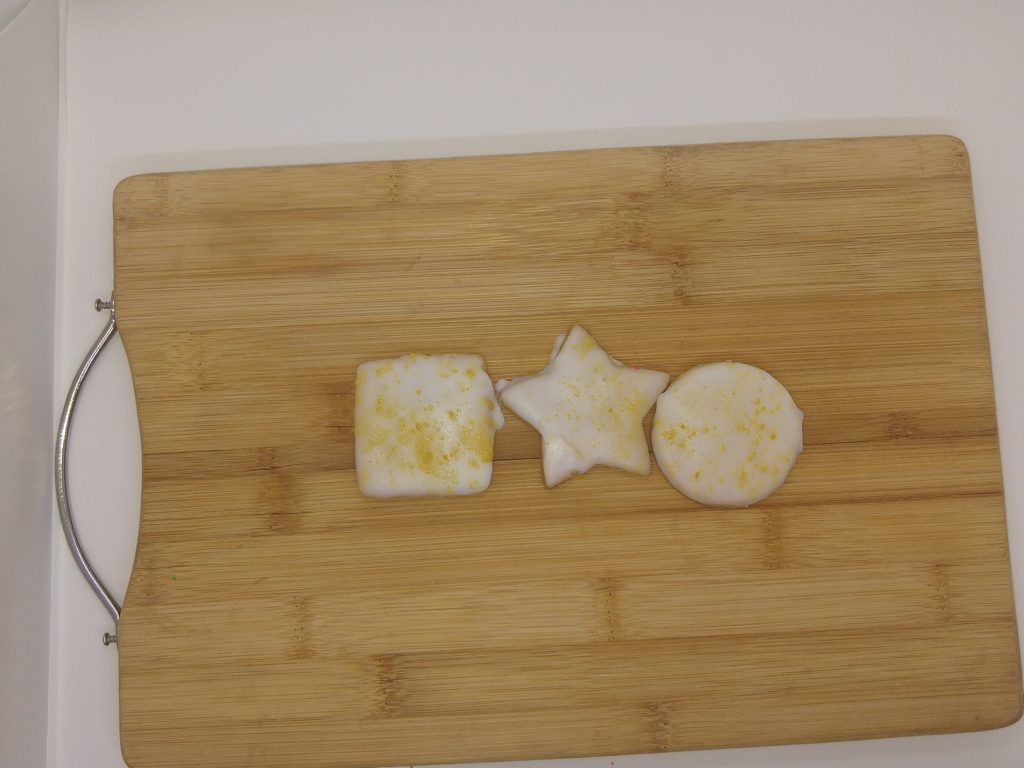
The second cookies are the gold splatter. In a small bowl, add some extract in some gold luster (make sure it’s clear extract). Mix them together with a brush. Don’t add too much extract because the gold won’t appear a lot. I would say add 1/4 tsp of extract to 1/2 tsp of gold luster.
Splatter the brush over the cookies, and that’s all there is to it. I did this method with all 3 colors, but in my opinion, only the white ones came out looking good.
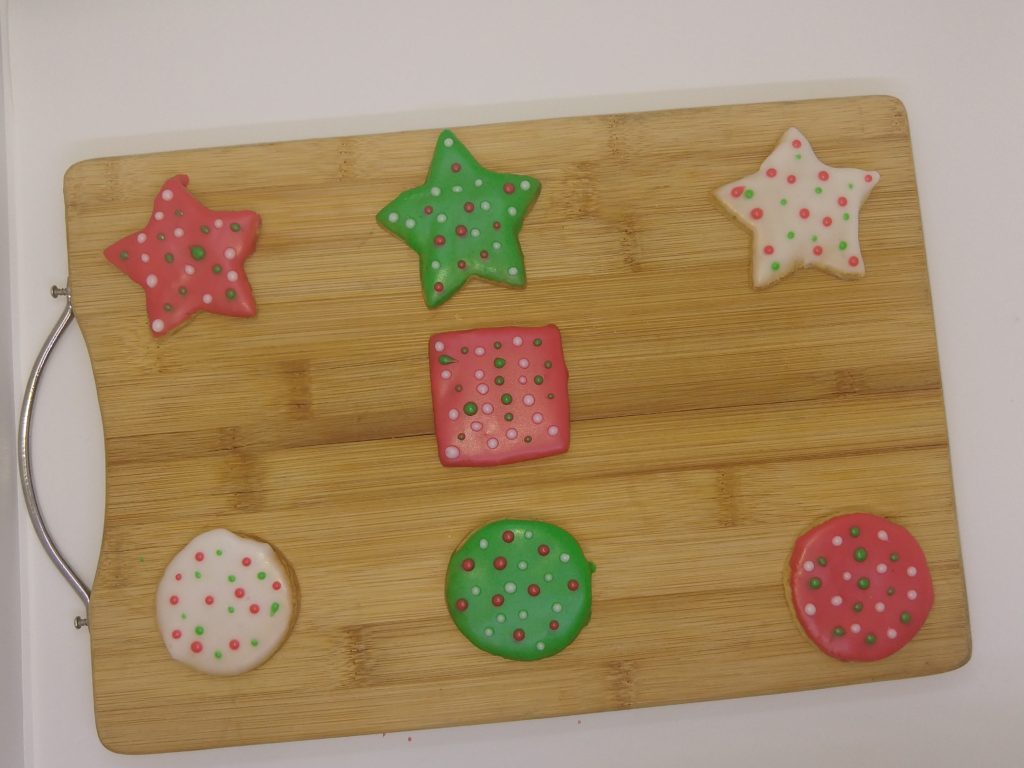
The third cookies are the polka dot ones. After flooding the cookies, pour some of each glaze in their piping bag. Cut a tiny hole at the end of each piping bag. Pipe a number of dots all over each cookie. You can make them different sizes. To make bigger dots, simply pipe the dot longer and it will become large.
For each color, make the dots with the 2 missing colors. For example, on a white cookie, make the dots with red and green.
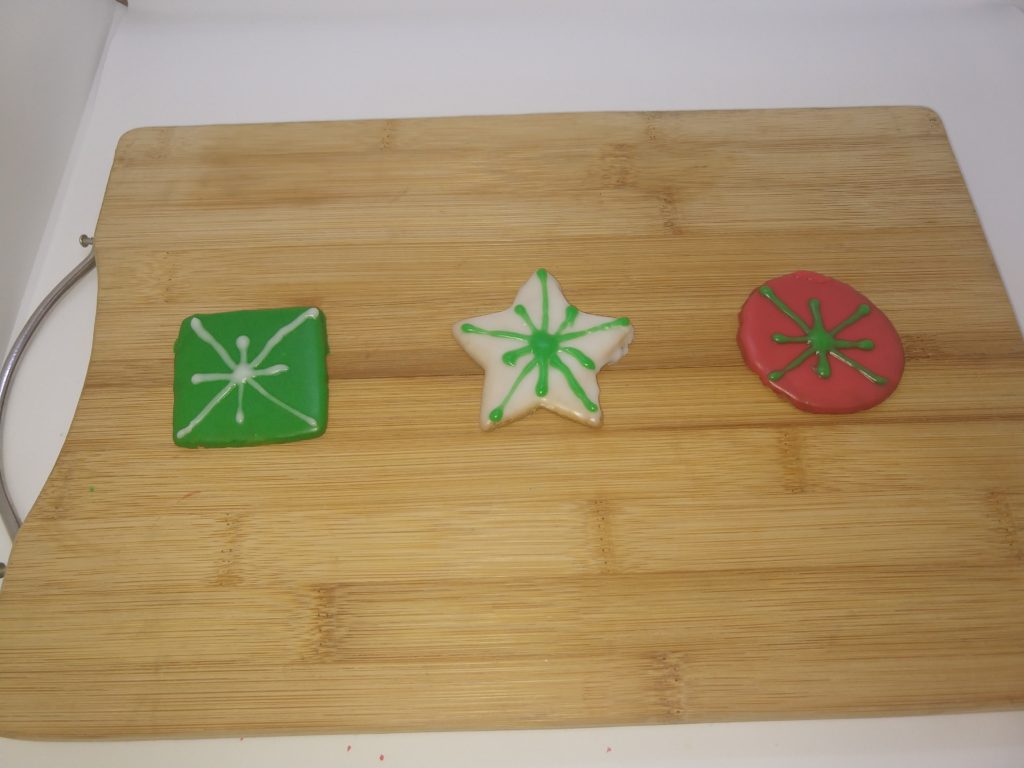
The fourth design were the star pattern lines. After flooding the cookies, take the same piping bags with the sugar glaze and pipe a pattern of your choice. These cookies were my least favorite design. Sorry cookies!!! You still tasted great!
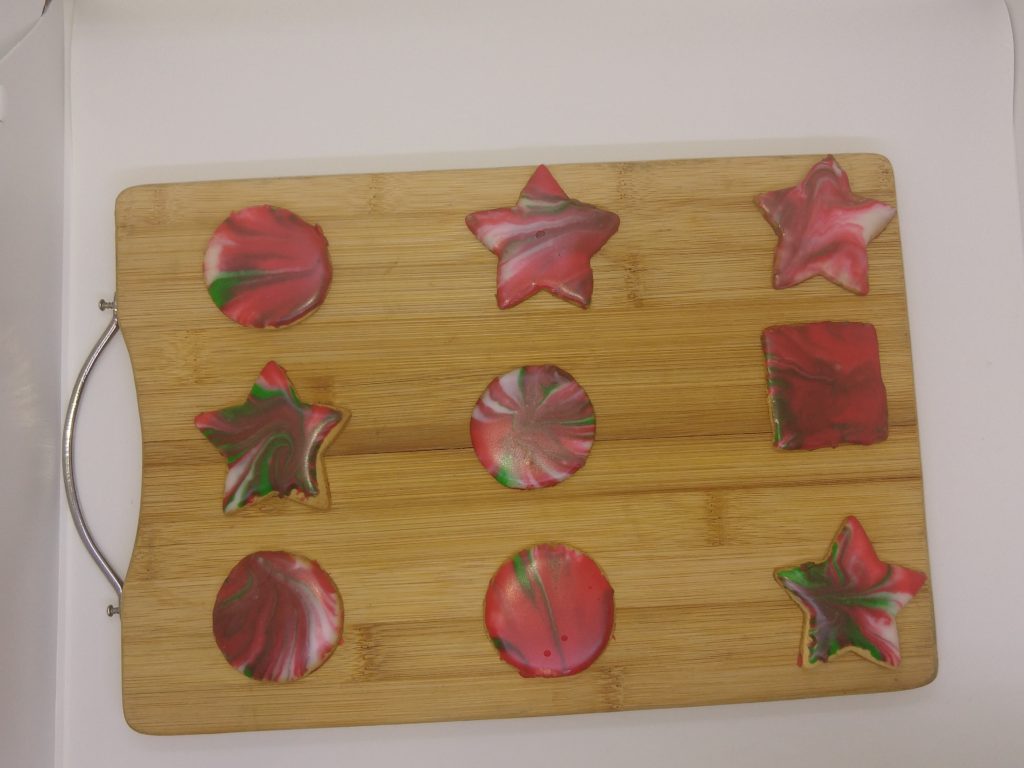
For the last design, the marble cookies. Last but not least. Do them last because in this one, you have to mix the different glazes together. They are my favorite. So pretty!!!
Choose which color you want to be the main one. I chose red as my main color. Pipe the red and white in lines on top of the red. With a toothpick or just a table knife, go over the lines vertically and then horizontally.
After that, dunk each cookie in the glaze. Notice in the photo below, the square cookie was dunk too far into the glaze; that’s why the other colors, green and white, don’t appear so well. When dunking the cookies, stay at the surface of the glaze. But also make sure that the whole surface of the cookie is getting glazed before lifting. And just like I did for flooding the cookie, tap the hand that is holding the cookie to left off the excess glaze.
If you notice that the colors are merging together after decorating a few cookies, simply repeat the process with mixing the colors like it was done at the beginning of this design.
By the time you are done with the last cookie, most of your cookies should be dry. But if you want to store them, don’t put them on top of each other because the glaze will glue all the cookies together. Put parchment paper between them. They can be stored at room temperature or in the fridge.
I gave my friend’s mother some. I gave my little brother some. I gave the neighbor’s kids some. And I kept the marble ones to myself.
Enjoy your treat.
Thank you for your time.
